3 Easy Steps to Paint with Coffee
Quickly get started painting with coffee with a Free Step by step online lesson
If you are curious about painting with coffee you can try it on your own following these basic steps. This is a quick ”try it free” introduction to painting with coffee.

Paint a Background. It can be a basic shape or a single image but in either case it is just a light wash of coffee.
I’d love some feedback. How was your coffee painting experience on your following online instructions?
Step 1
Paint a light wash of coffee to create background.
Draw a soft pencil sketch of your image on the dried background.Step 2
Draw a soft pencil sketch of your image on the dried background.Step 3
Paint layers of coffee. Continue painting layers of new coffee developing your image until you have finished.
Detailed instructions for the three basic steps to paint with coffee

1 - Pencil sketch an image over a dried coffee background. 2 - Establish first layer of image. 3 - Begin adding more layers of coffee.
Step 1
Paint the first layer to be your background. It can be a rectangle, circle, triangle - anything to get started! Paint a simple shape with a light coffee wash and let it dry. This background layer will already show subtle changes in the color value. You can also experiment with adding drops of coffee while the background is still wet. This will create textural variations in the color when dry. This painting technique is similar to Wet-on-Wet used in watercolor. When it is completely dry lightly sketch an image or trace around an image to paint. I suggest painting a single leaf but any simple shape will work if you don't have a leaf.
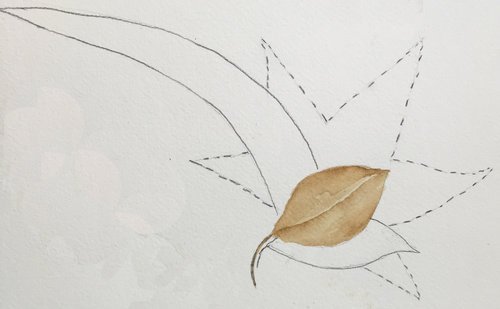
Begin by lightly drawing around the edges of the leaf with a pencil. This will establish an outline of where to paint the first layer. Think of it as a page in a coloring book and you will be more at ease about where you will paint. It is important to let the paper completely dry before you go forward. I will constantly remind you to let your layers dry COMPLETELY before painting the next layer or specific ares. Once the first layer is painted and has dried you can erase the pencil.
Hints:
• The first layer must be completely dry before adding more paint. If the layer you have just been working on is not completely dry and any new paint added will will just blend into the damp paper. Your new strokes will not be sharp because they will be soaked up by the still wet under layer. This is a Big Deal to remember. I recommend having a hairdryer handy because this will speed up the whole process and keep you focused on your progress.
• There may be some remaining pencil lines that could not be erased. This occurs when coffee has been painted over the pencil lines and they become sealed in. Try to keep your initial outlining as light as possible. Keep in mind it is just a guide and not meant to be seen in your final painting.
• If some pencil still shows it can add character to the edges. Pencil lead and coffee offer an interesting mix that can be fun to experiment with. Any remaining pencil lines may also be intentionally covered with darker coffee.
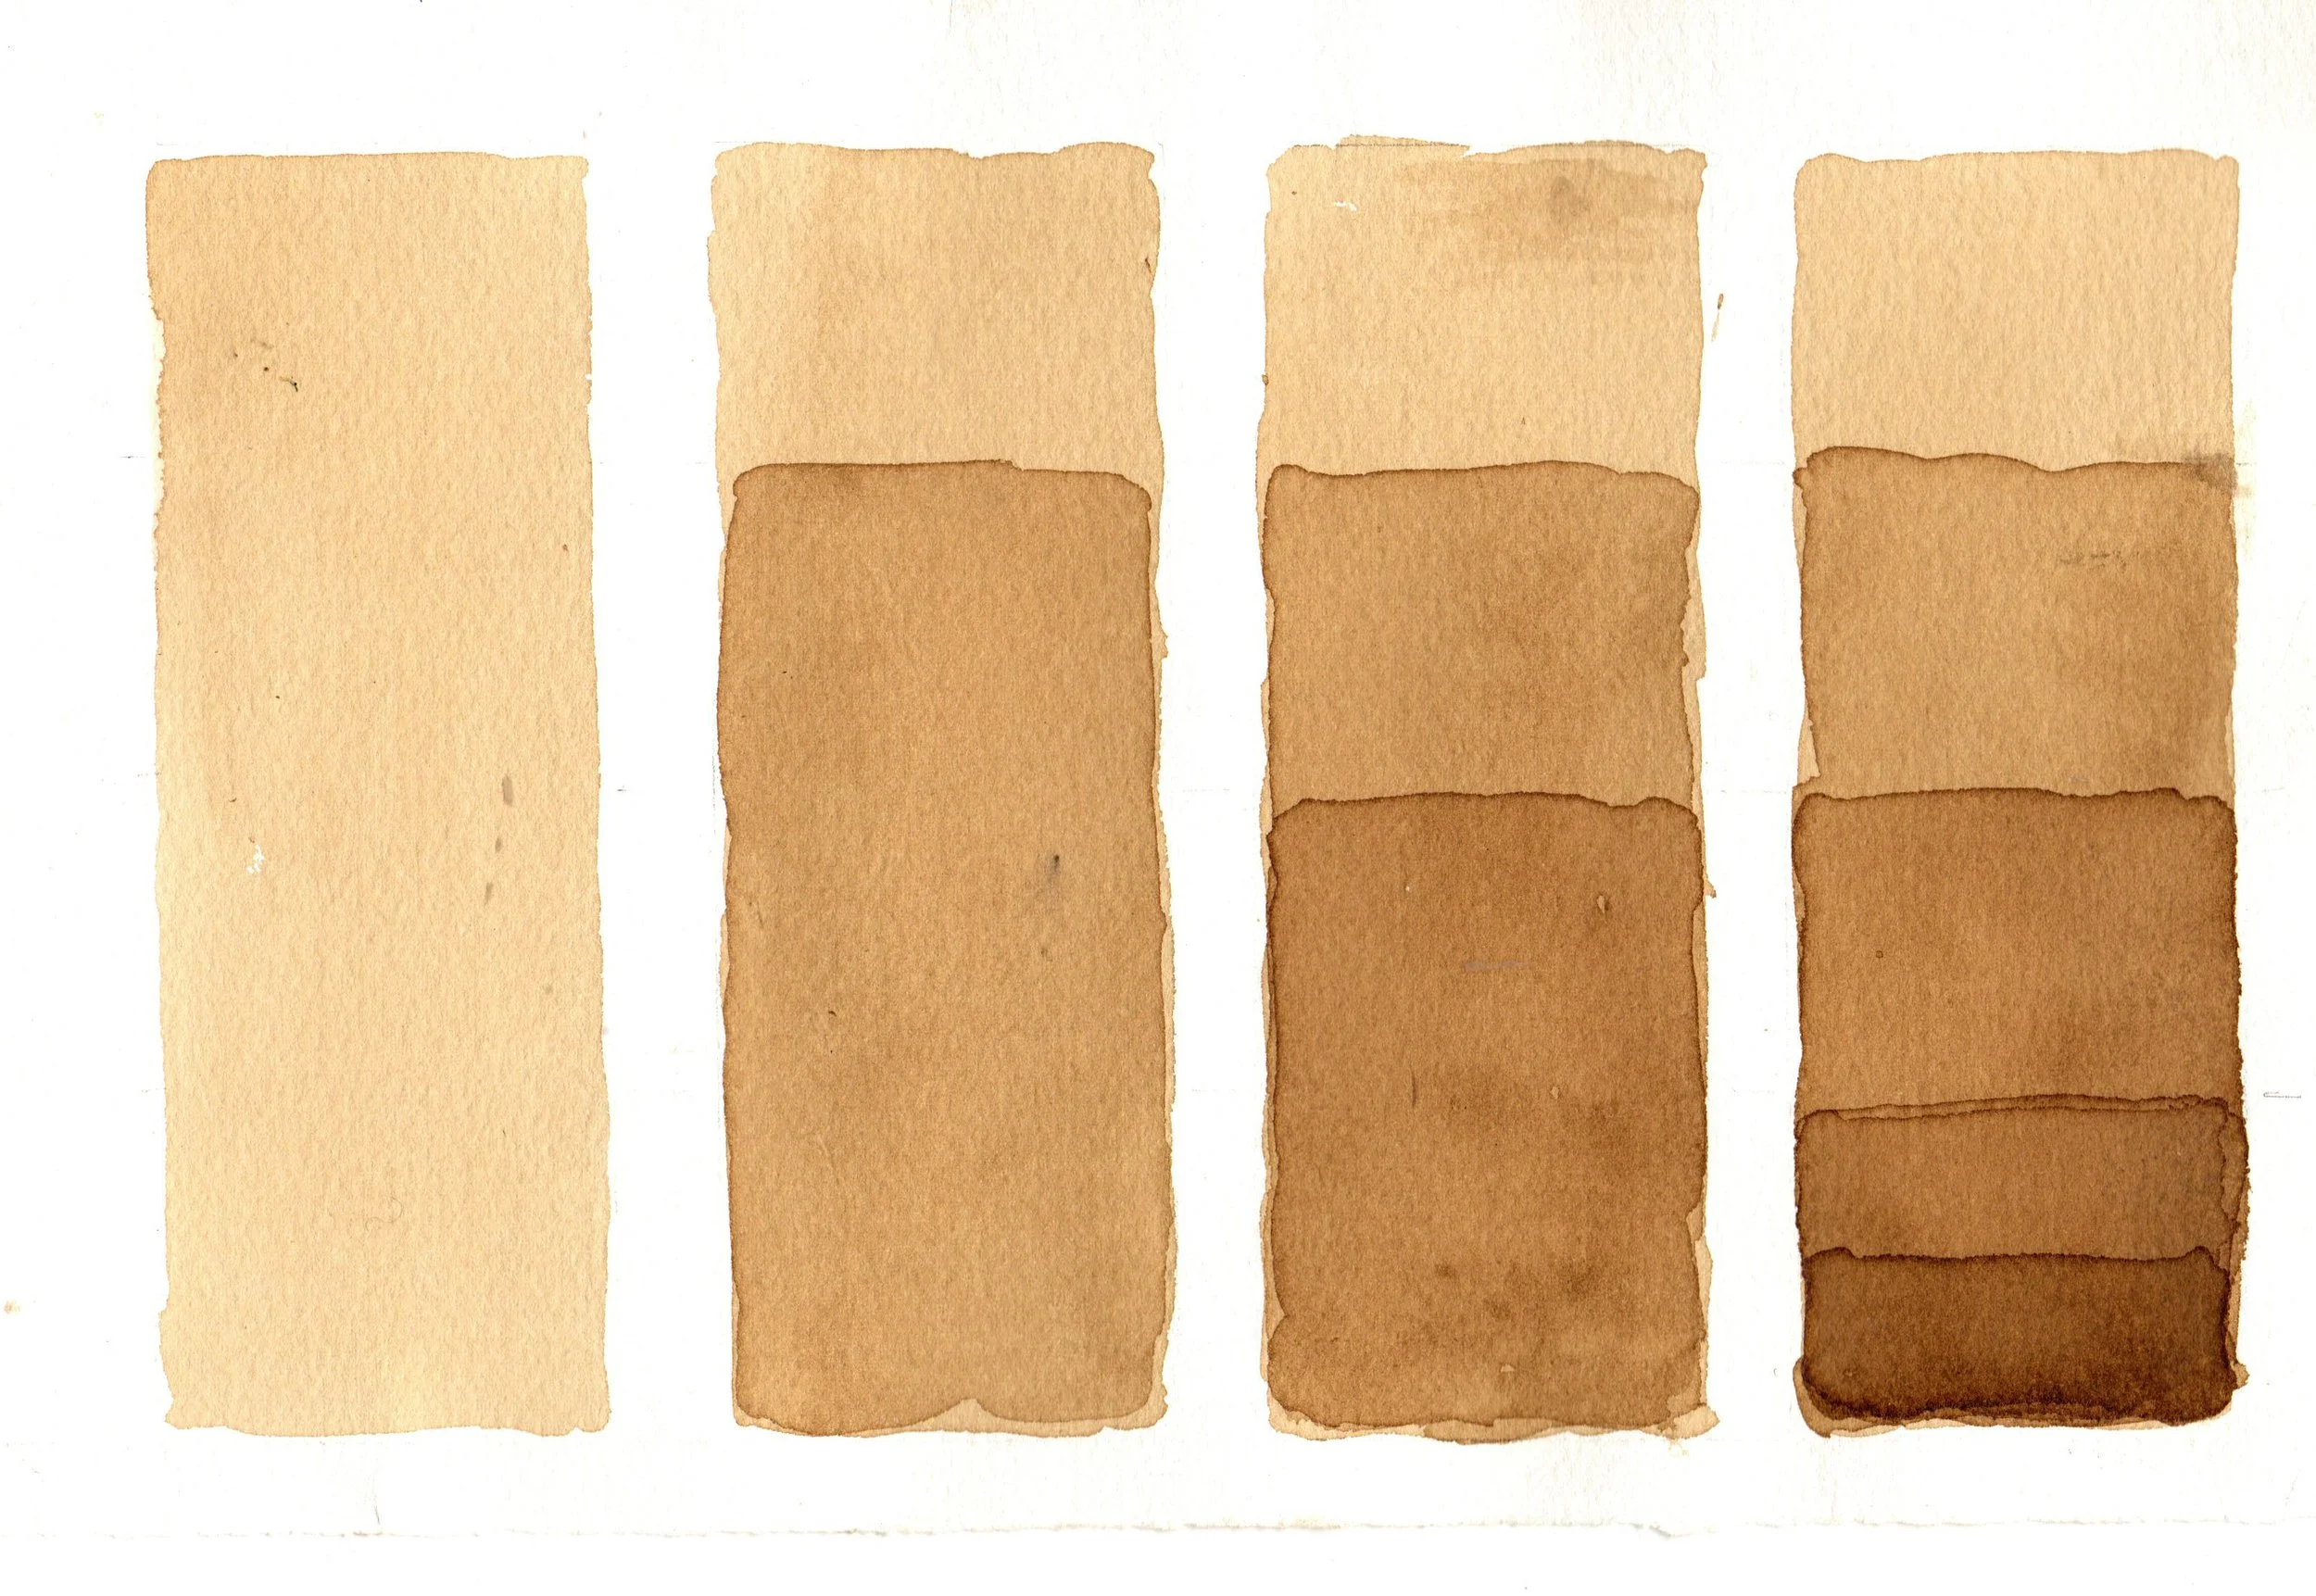
It is important to understand the role layers play in your coffee painting experience. Each layer must be completely dry to get the full strength of color from the continuing layering.
Pencil lead and coffee offer an interesting mix that can be fun to experiment with.
Step 2
Next by painting a light wash of coffee inside your sketch. Once this first layer of coffee dries you have a base or ground to develop as you add new layers of coffee. Remember, if the background layer of coffee is still wet, any new coffee applied will be free flowing. This can create some interesting and unexpected results. It’s an easy way to try out new possibilities coffee has to offer. If you desire sharp lines or more detailed depth make sure your paper is completely dry before moving to Step #3.
Hint
• I suggest working on several paintings at the same time. This allows drying time to finish but you can continue to paint on a dry image. Keep the creative juices flowing with no waiting.
Begin by lightly drawing around the edges of the leaf with a pencil.
Step 3
Paint with a darker shade of coffee.
From this point on, it is all about painting new layers of coffee. Begin to add details emphasizing certain parts of your painting. Both the strength of the coffee and the number of layers control how dark each area will be. Eventually you’ll have an “eye” and see where to add darker coffee. This is a gradual process. Remember - if an underneath area is still damp, the newly applied coffee won’t be dark or sharp. It will dissolve into the still-wet area. This is important to remember because it will be frustrating when you keep adding darker coffee and it seems to just disappear. A new layer of coffee will not be visible until the layer under it is dry.
